How to design and build a plastic injection mold
Important factors to consider for your mold manufacturing
Before manufacturing your plastic part, the first step is to produce a mold, which can be a difficult task given the many nuanced design, material, and process requirements involved in tooling. Your plastic injection mold design and construction will heavily influence your project’s cost, timeline, and the quality of your output—not to mention your long-term production capabilities (cycle time, tool cavitation, etc.). Getting tooling right, preferably the first time, is critical to keep your project on track, avoiding unnecessary delays or quality issues.
Injection molded plastic part design
Incorporating Design for Manufacturing (DFM) early in your project ensures critical details of the injection molding process are considered as a component of the part design.
Oftentimes, part design is either complete or in a very advanced state before an OEM starts sourcing its mold. In this case, your mold maker will want to review your part design to confirm it can be feasibly manufactured. Some questions they will likely explore include the following:
Wall thickness:
- Does your design meet/exceed the nominal wall thickness requirements to create an appropriate balance of pressure and flow during manufacturing?
- Can you anticipate even cooling of your part due to consistent wall thickness in the design?
Draft angles:
- Are your draft angles appropriate as it relates to anticipated part shrinkage during the cooling process?
- Do the planned draft angles allow for your part to be quickly and easily ejected from the mold?
- Will your current design put unnecessary stress on your mold?
Corners: (see image to right)
- Have the radii of any corners been set appropriately to avoid shrink marks, warpage, shearing, and/or breakage during manufacturing?
- Are all corners appropriately shaped to allow sufficient material to flow in during the molding process, and to maintain consistent wall thickness?
Undercuts:
An undercut is a design feature that can make ejecting the part from the mold difficult or impossible (often in the form of indentations or protrusions).
- Can any undercuts be edited out to remove unnecessary complexity in the mold design, while still fulfilling the part’s intended purpose?
- Is it realistic for the mold design to accommodate any requisite undercuts while staying within the budgetary requirements of the project?
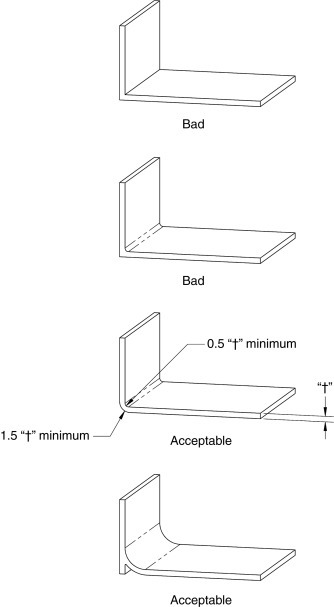
Generous radii in all corners allowing a uniform wall through the corner is the best situation when filling an injection molded part. Source: Mark T. MacLean-Blevins, Designing Successful Products with Plastics, 2018
Resin selection:
- Is your part design compatible with the selected resin(s) as it relates to injection pressure and mold flow?
- What challenges or delays could occur related to the part’s cooling, finish, etc. that might be resolved by minor changes to the part design and/or choice of resin?
Tolerances:
- What are your part’s tolerances and how might they affect tooling (i.e. changing the material selection for your mold, necessitating additional quality checks, or creating the need for a more complex mold)? Tight tolerances will necessitate a higher quality and more costly mold.
- How might the design of the part/mold take the part’s performance requirements into account in order to balance out unnecessary increases in lead time or cost?
From the standpoint of mold construction, DFM is a great place to start, but manufacturability isn’t the only important consideration at this point in the process. In fact, Medical Design and Outsourcing stresses the need for a more comprehensive approach they call DFx, which “requires consideration of both the product and the business objectives, including reliability, regulatory requirements, cost, and supply chain.” It’s one thing to be sure your part can be manufactured, but you’ll also want to make sure your design is optimized for assembly and kitting, your part is likely to pass any necessary certifications or quality requirements, the resin(s) you’ve selected satisfy your cost requirements and are available in the quantities needed to meet your production schedule, and so forth.
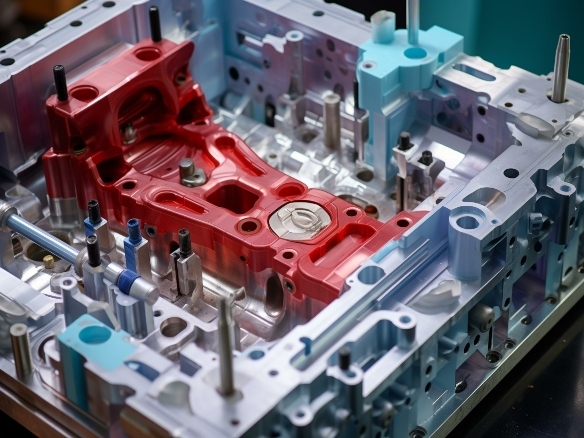
Plastic injection mold design
As you might imagine, mold design is very closely tied to part design and cannot begin until the part design is (mostly) finalized. Beyond accommodating the basic geometry of your part, the tool designer must consider a number of important factors related to the injection molded plastic manufacturing process:
- Production needs. Not only will production needs affect the selection of metal for your mold, they’ll also fundamentally impact your mold design. As an example, a high planned production volume will benefit from adding more cavities per mold, increasing the mold’s efficiency by producing additional parts per cycle. At smaller volumes, the additional costs associated with a multi-cavity mold likely outweigh the savings from the mold’s increased efficiency.
- Gates and runners. How and where resin flows into your mold has a profound impact on its success. Selecting the appropriate type and placement of gates can avoid issues with the part’s function and will ensure the final product is aesthetically pleasing, as well.
- Parting line. Because an injection mold is generally created by two or more parts that are pushed together, there’s often a visible line in the final part where the mold pieces meet. An experienced mold designer can strategically place any parting lines to minimize functional or aesthetic challenges.
- Coolant lines. Having an appropriate number of well-placed coolant lines allows for efficient cooling and prevents unanticipated shrinkage or warpage.
- Mold venting. Proper venting ensures any air or gases can escape from the mold cavity during the injection process, minimizing defects like incomplete filling and surface blemishes that can be caused by trapped gases. Not only does effective venting result in higher quality, more precise parts, it also helps maintain consistent cycle times and improves production efficiency by reducing the likelihood of defects and rework.
- Shrink rate. Shrinkage in the 0.4% to 2% range can be expected on all plastic parts produced via injection molding and will vary depending on the materials selected, gate and coolant line locations, and other conditions related to the manufacturing process. The mold design must take shrinkage into account for a successful part.
- Ejection. Of course, your mold design will need to account for the ejection of your cooled part(s). There are various ejection systems, each with different implications in terms of your cycle time and the quality of the final product. Learn more about some considerations for identifying the right ejection method.
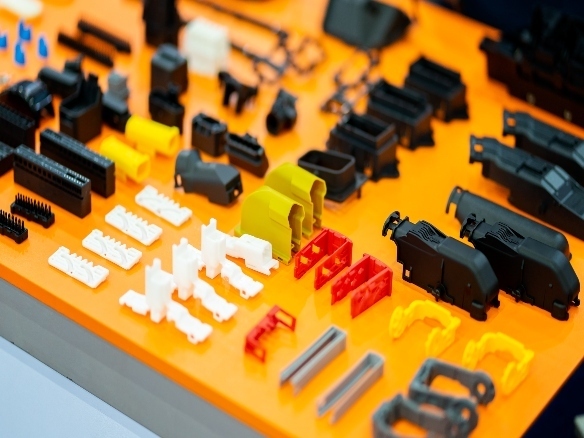
- Molding additional colors/materials. If your part requires more than one color or material, it may make sense to build a mold that can support 2k/double- or multi-shot molding (wherein two or more materials are simultaneously injected into the mold) and/or overmolding (where additional, often softer, materials are injected onto the cooled underlayer, or substrate part).
While minimizing costs is an important consideration in the creation of any mold, some additional cost may be necessary to support your part’s intended purpose/longevity, as well as the production needs (volume, lifespan, etc.). Having a firm understanding of these factors upfront will guide the mold design process. Take it from Plastics Today: “No amount of savings is worthwhile if it compromises the ability to maintain the condition of the mold, has the potential to affect part quality, or complicate start-up and daily production. Relatively small tooling savings will be dwarfed by the cost of scrap, drain of resources, lost time, and repair activities, so carefully consider how cost savings can impact overall efficiency.”
Simulation and testing
The phrase “measure twice, cut once” has become a popular figure of speech for good reason—you’ll almost always save time and money by double-checking your measurements. Similarly, thoroughly evaluating your mold design before it is produced will identify and resolve potential issues as soon as possible; it’s certainly much easier to make changes in equipment or resin selection, or design tweaks to your part and/or mold, before machining takes place.
A good injection molding partner leverages Computer-Aided Engineering (CAE) combined with cutting-edge simulation technology to confirm your mold is ready to move into production. CAE simulation can mimic actual production with 90%+ accuracy, validating that your designs, selected materials, and production settings are optimized before moving forward.
At this point, additional specialized machinery will be employed to assist in material characterization testing – thermal, mechanical, environmental, physical, chemical, rheological, etc.
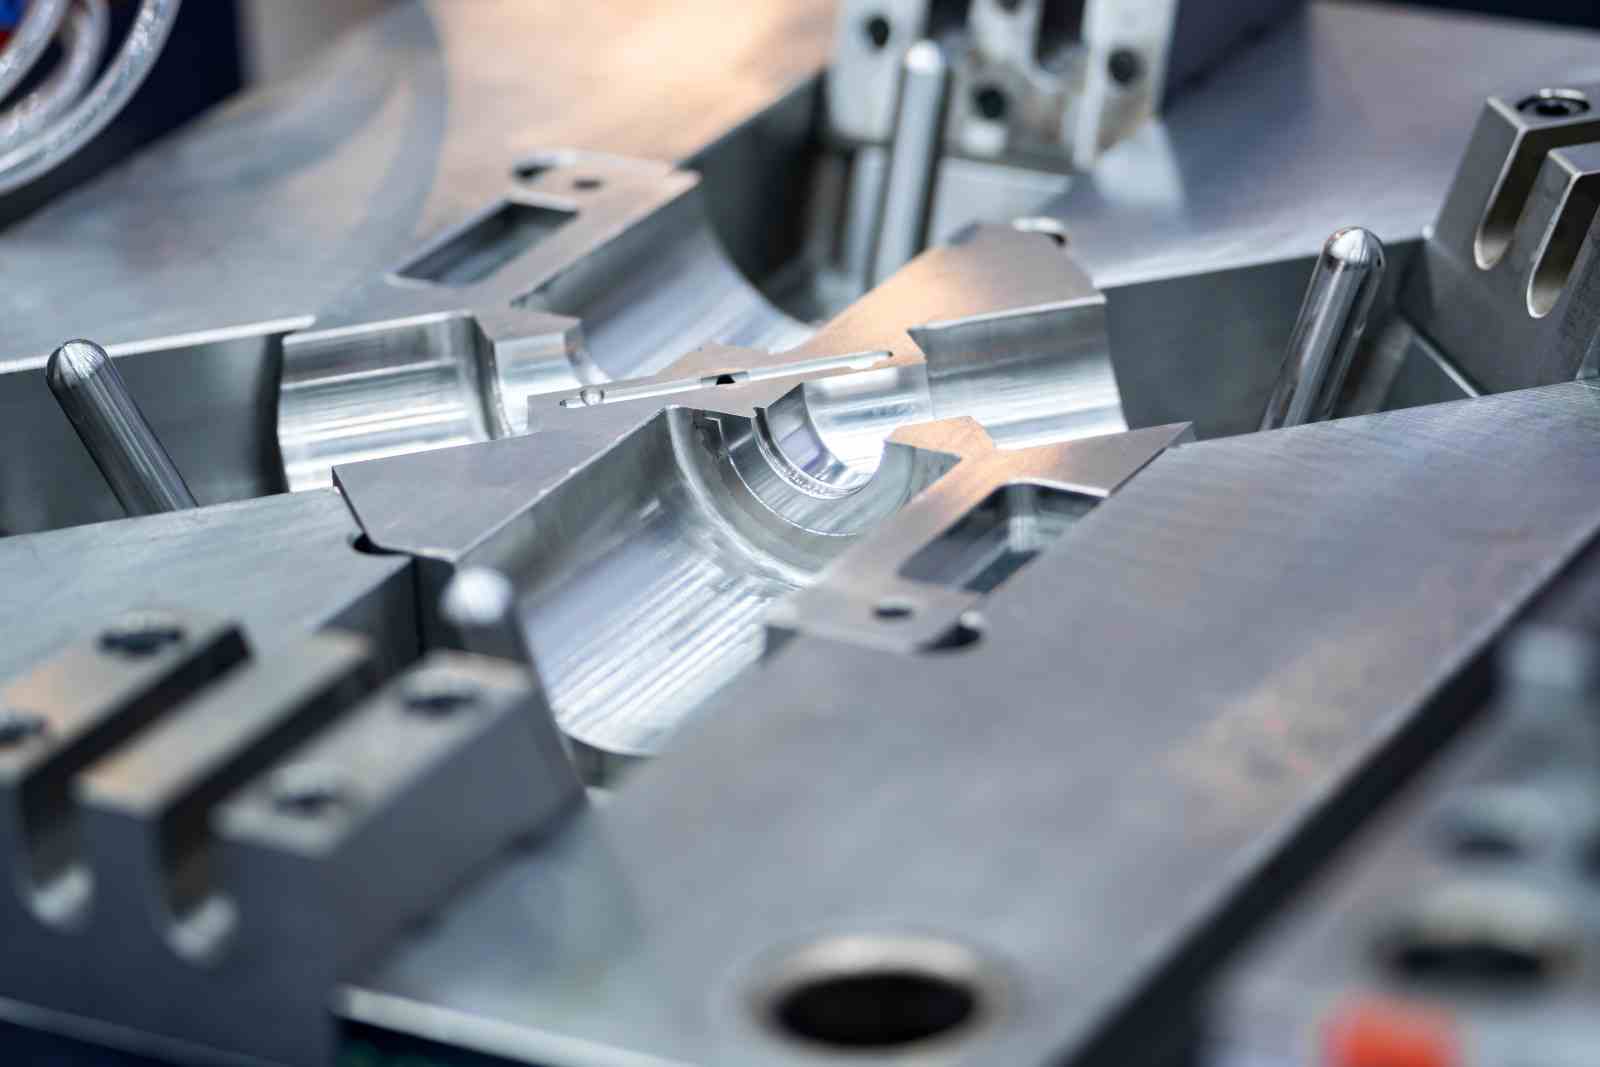
Manufacturing of the plastic injection mold
To produce your mold, the tool shop will employ a highly precise, multi-step process entirely guided by computers. Each phase of the process further refines and validates the mold. While the order of some of the steps below can vary, below is a high-level overview of the mold machining process:
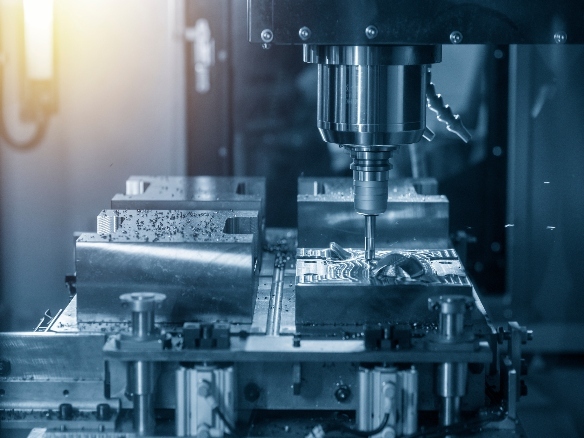
- Initial milling: Machining the mold base to the proper size and shape
- Rough CNC machining: Basic shaping of the plastic injection mold cavity/cavities
- Heat treatment: applying heat to harden and strengthen the metal
- Precision CNC machining: More refined machining for molds that need more detailed features
- Electrical Discharge Machining (EDM): Applying electrical discharge to the mold to smooth and finely shape it
- Polishing/Finishing: Putting the final touches on the mold to guarantee the parts it produces have the desired finish
- Measurement: Ensuring the mold dimensions exactly match the CAD design through the use of an Automatically Programmed Measurement (APM) system
- Fitting and assembly: Putting the mold together and adjusting for a tight fit between the mold parts and within the injection press
- Mold Trial: Molding initial parts to validate the final product’s accuracy vs. the approved design/tolerances (these are the toolmaker’s samples and are created prior to the official first article for internal validation)
To allow for further visibility and control during production, an RFID (radio frequency identification) chip can be affixed to your mold. During manufacturing, these sensors feed real-time data to the factory’s centralized computer, providing a live look into production progress, enhancing inventory management, proactively identifying potential issues, and avoiding unplanned downtime.
First article
Now that the tooling is complete, your mold maker will provide first articles for you to inspect before beginning production on your part. By this time, enough simulation and testing has been done that your mold should consistently produce quality parts, but full-scale production won’t begin until you’ve signed off on the output.
At this point, it’s important to document materials and processes to support quality control and allow future flexibility in the process. Most manufacturers will leverage a cloud-based network of machinery that allows automated setup and production based on your defined specifications. In instances where your mold may need to be moved to a new press and potentially set up manually, having the proper documentation is critical to maintain continuity in your manufacturing.
With so much to think about related to mold design and construction, you need a partner that sees the injection molding process holistically. Nelson Miller Group’s in-house engineering team combined with our state-of-the-art injection-molding facilities allow us to provide custom plastic injection molding services to meet your needs.

NMG has more than 85 years of experience partnering with organizations to bring their industrial, IoT, lighting, medical, telecommunications, consumer, and aerospace products to life. We solve your most complex challenges in engineering design, manufacturing, and supply chain management.
About NMG
Follow NMG
Could your company use results like this?
We want to learn about your organization and understand your unique challenges.